Insulate every pipe in unheated space
Foam pipe insulation ($0.50–$1.50/ft), heat tape ($30–$80 per pipe), or both for high-risk areas. Cost is trivial compared to a single burst.
Pipes freeze fast in cold snaps — but burst when they thaw. Here's how to handle it without flooding your home.
The first day determines whether this is a $5,000 problem or a $50,000 reconstruction. Follow these steps in order.
Open every faucet partially. The one with no flow (or a trickle) tells you which line is frozen. Trace it back along the supply route — usually exterior walls, attics, basements, or unheated crawl spaces.
When the ice thaws, water needs somewhere to go besides splitting your pipe. Open both hot and cold sides on the affected fixture before applying heat.
Hair dryer, heat lamp, electric heating pad, or space heater. Start at the faucet end and work back toward the frozen section. Never use open flame — propane torches cause house fires every winter.
Once you start thawing, stay with it. Pipes can hide other problems (cracks from earlier freeze events) that release suddenly when thawing completes.
Have the location and a wrench within reach. The moment the thaw water surges, you have seconds to spot a burst and shut down before serious flooding.
Many freeze cracks are small — a hairline split that drips slowly at first. Check the entire run for moisture for at least an hour after flow returns.
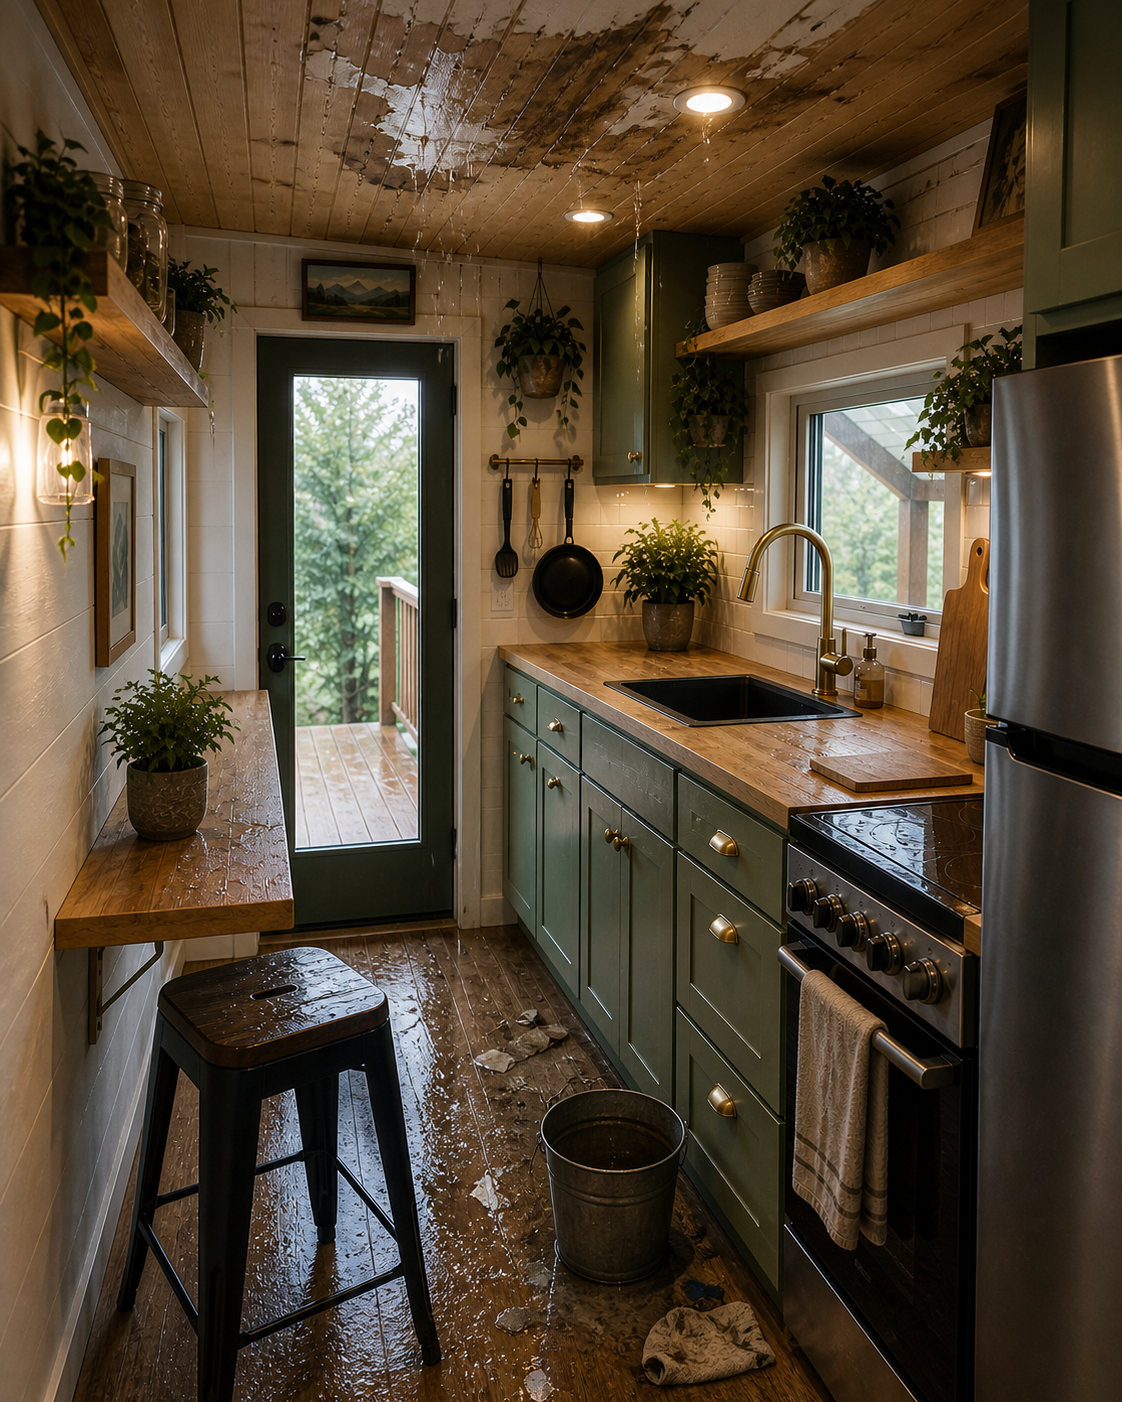
Frozen-pipe bursts often happen behind walls, in attics, or in crawl spaces — places where leaks aren't visible. By the time water shows on the ceiling, hundreds of gallons may already be in the structure.
Pipes can begin to freeze when sustained temperatures hit 20°F, especially with wind chill. The most catastrophic damage occurs when temperatures drop fast — homes don't have time to heat up exposed plumbing.
Attics, crawl spaces, garages, basements without heat, exterior walls without proper insulation. Anywhere the pipe sees outdoor-influenced temperature.
Original insulation in older homes (pre-1980) is often half what current code requires. Pipes that worked fine in mild winters fail during polar vortex events.
Gaps around plumbing penetrations let outdoor cold reach pipes through what's effectively a thermal short-circuit. Even insulated pipes freeze if the wall has air leaks.
Homes left at 45°F or below during winter trips are extremely vulnerable. Many policies exclude freeze damage in vacant unheated homes — read your policy.
Hose bibs and irrigation lines that weren't drained before winter. Frost-free faucets help but don't solve the problem if a hose was left attached.
These mistakes turn manageable losses into reconstruction projects. We see them every week.
House fires from torch-thawing are a winter staple of fire department calls. Always use enclosed heat — hair dryer, heating pad, space heater.
The thermal shock can crack already-stressed pipes. Even if it doesn't, the boiling water cools fast and refreezes downstream.
Burst pipes during thawing can release hundreds of gallons in minutes. Stay with the heat source until full flow is restored and you've checked for leaks.
If one froze, the conditions that froze it haven't changed — others may freeze tonight or tomorrow. Address insulation and warm air access before the next cold snap.
Thermal expansion stress on pipes goes the other way too. Steady, gradual warming is safer than aggressive heat blasts.
Most policies exclude freeze damage when the home was vacant without heat. Check your policy before relying on coverage for second homes or rental properties.
Call a plumber if (1) you can't locate the frozen section, (2) the pipe is inside a finished wall and inaccessible, (3) you've thawed and the pipe shows leaking or bulging, or (4) multiple pipes are frozen and you need triage. Call a restoration company if a pipe has burst and water has been released — even if you've stopped the flow, the existing water in the structure needs immediate professional extraction. The two often work together: plumber repairs the pipe; restoration handles the water damage.
Most water damage events are preventable with simple maintenance. Here's the playbook.
Foam pipe insulation ($0.50–$1.50/ft), heat tape ($30–$80 per pipe), or both for high-risk areas. Cost is trivial compared to a single burst.
Caulk and spray foam at every plumbing penetration. Cold air infiltration freezes pipes faster than ambient temperature alone.
Smart thermostats with low-temperature alerts give peace of mind during winter trips. Cost: free to $250.
A pencil-thin stream prevents pressure buildup. Open the faucets on exterior walls and any pipe known to be exposed.
Lets warm room air reach pipes against exterior walls. Free, easy, effective.
Disconnect hoses, shut interior valves, drain the outdoor side. Frost-free faucets help but aren't foolproof if a hose stays attached.
Self-regulating heat cable wraps around pipes and only heats when below freezing. $50–$150 per pipe; pays for itself the first burst it prevents.
Flo by Moen, Phyn, StreamLabs — they detect anomalies and auto-shutoff. Many insurers offer 5–10% discounts.
| Item | Range |
|---|---|
| DIY thaw materials (heat tape, insulation) | $50 – $200 |
| Plumber thaw service (no burst) | $200 – $500 |
| Pipe repair (single split) | $200 – $1,500 |
| Frozen-burst extraction & drying | $3,000 – $10,000 |
| Drywall and ceiling repair | $1,500 – $5,000 |
| Total burst-pipe restoration (typical) | $5,000 – $25,000 |
Pure thaw service (no burst) is inexpensive and often DIY-able. The real cost arrives if a pipe bursts during thaw — averaging $10,000–$15,000 in US restoration claims. Insurance generally covers burst pipe damage if the home was occupied and heated.
See full pricing breakdown across all servicesFrozen pipe burst damage is covered under standard homeowners insurance IF the home was occupied and adequately heated at the time. The exception is vacant homes without heat — most policies exclude this. Read your policy's 'freeze' or 'occupancy' provision carefully if you have a second home or rental property. When the loss is covered: claim process is identical to any burst pipe — notify within 24–72 hours, document everything, mitigate immediately, work with adjuster. Documentation should include the indoor temperature at time of loss (if known) and proof of occupancy. Smart thermostat data logs are gold here — they prove the home was heated.
How we handle your insurance claimLocate frozen section, plan thawing approach
Apply heat slowly while monitoring for leaks
Plumber fixes split or replaces section
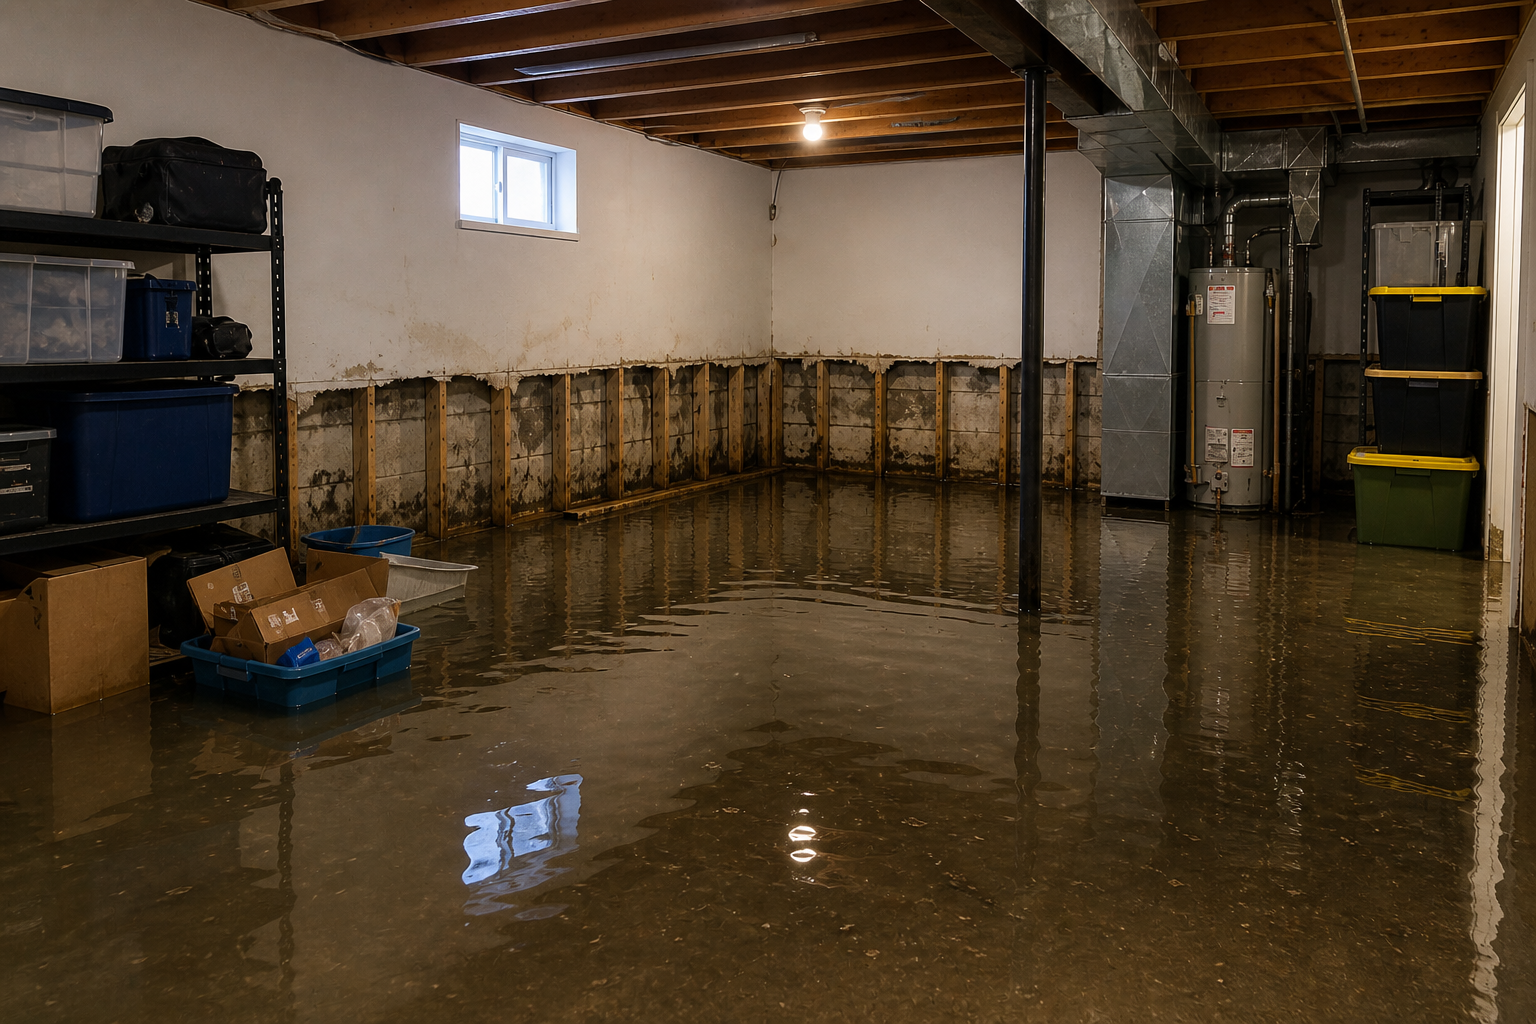
Extraction begins immediately to prevent secondary damage
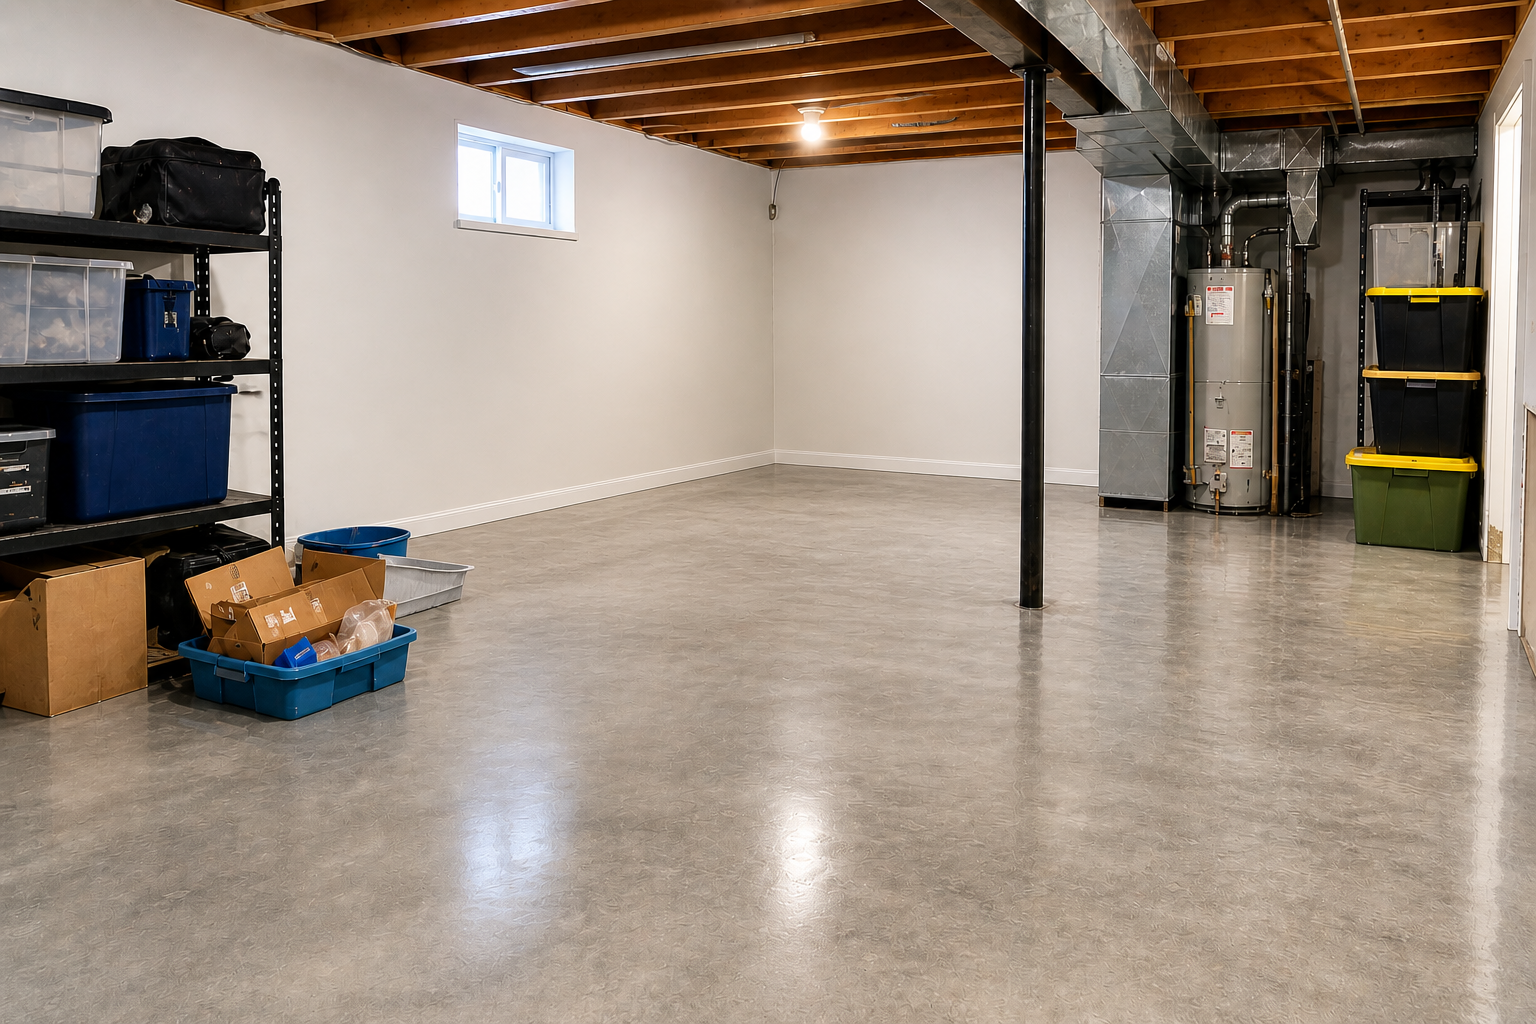
Standard structural drying with daily monitoring
Drywall, flooring, paint replacement as needed
We document everything, bill insurance directly, and never charge for the inspection — even if you choose not to proceed.
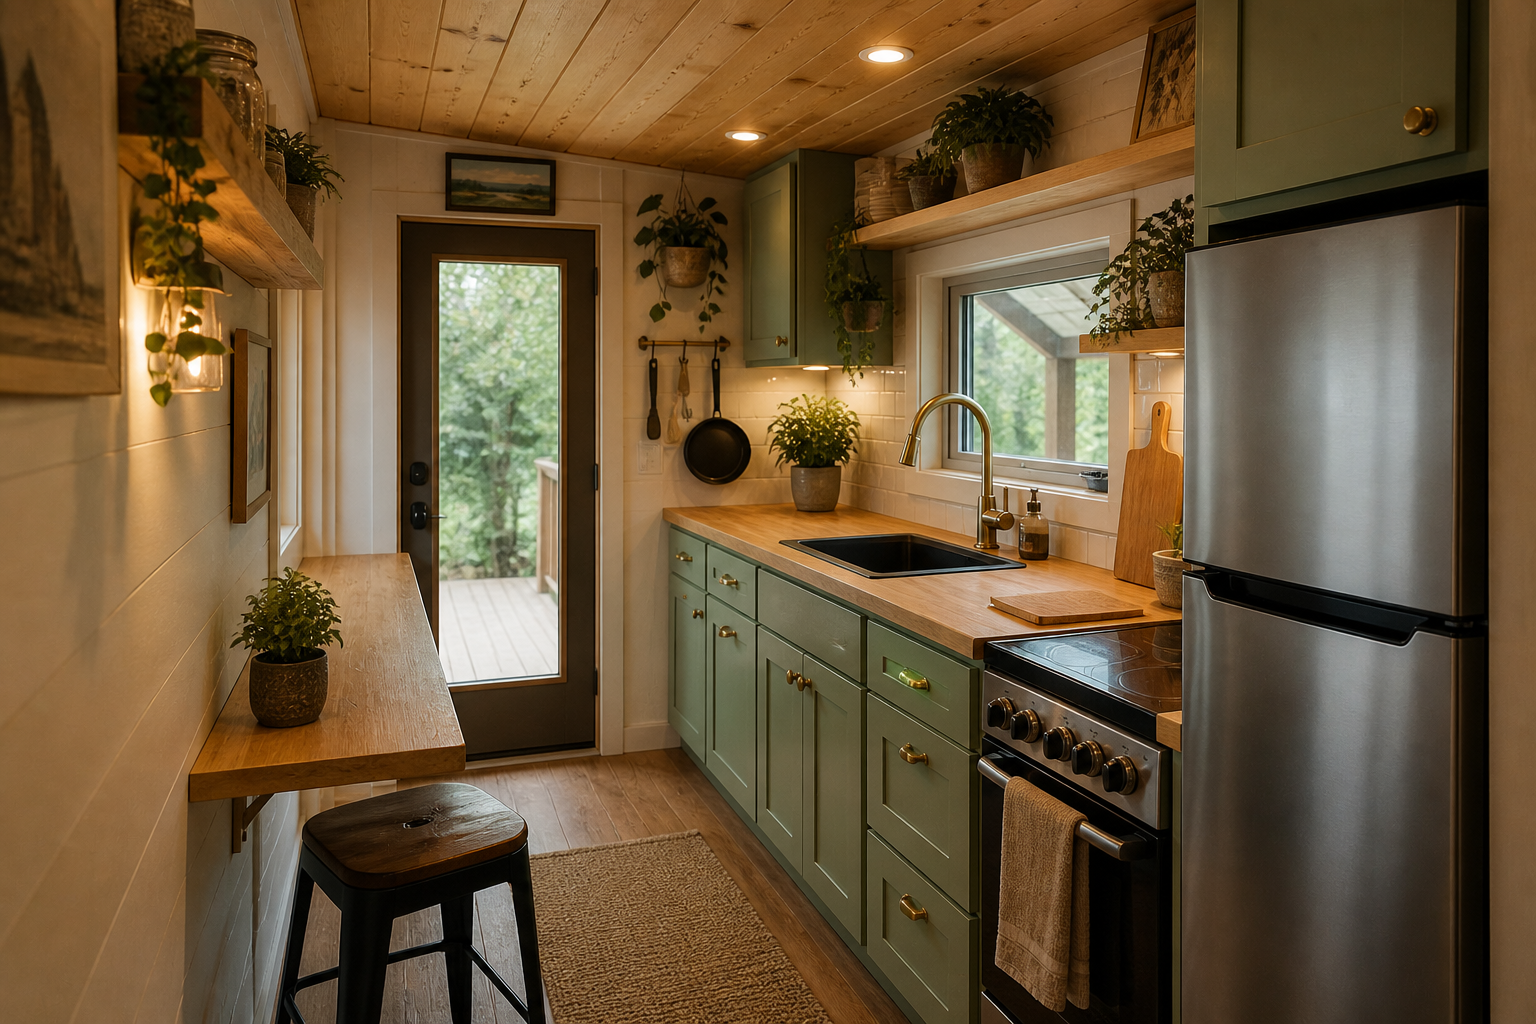
See the difference our certified crews make. Drag each slider to compare.
Water damage doubles in cost every hour. Mold starts in 24. Call now — free inspection, fast response, insurance handled.